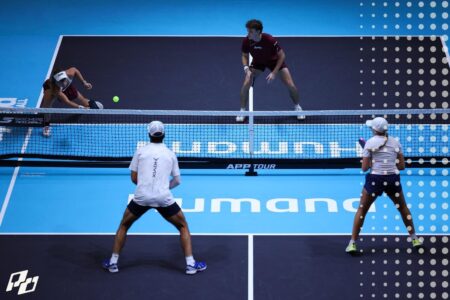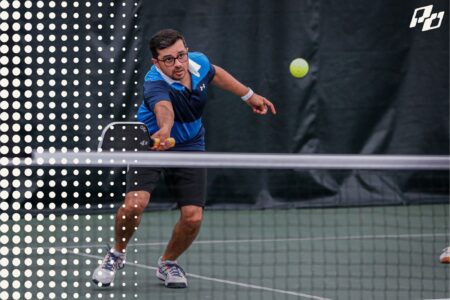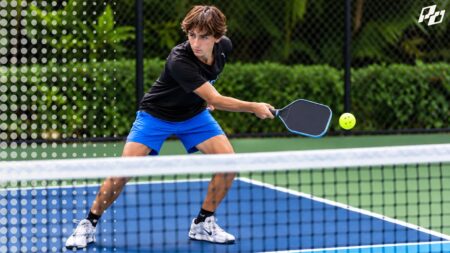

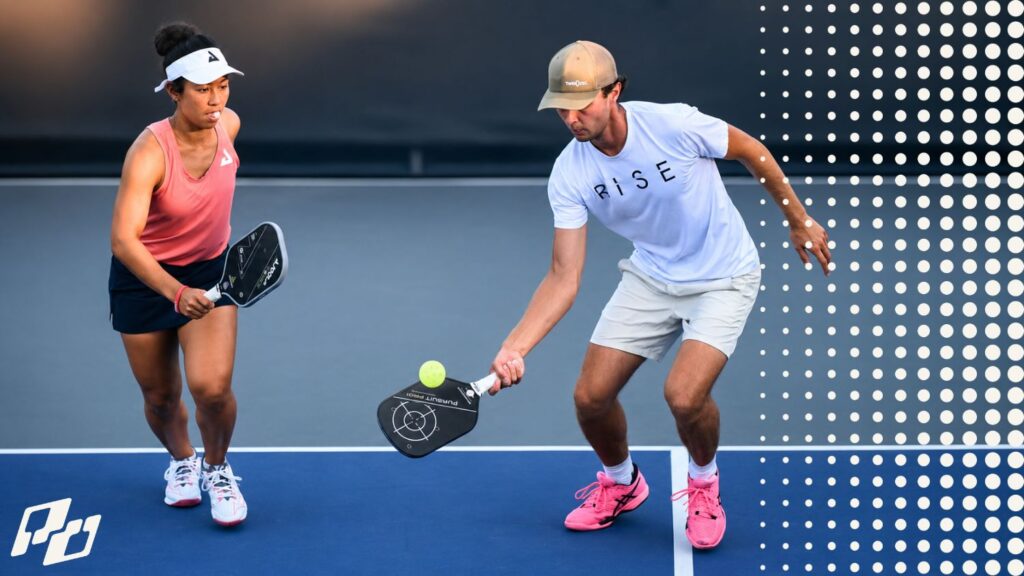
A third-shot drop can clear the net by several feet and still be effective. What matters most is that the ball reaches its apex early, descends before the opponent can attack, and lands near their feet. From the baseline, use more arc and margin rather than trying to skim the net.
A third-shot drop hit from near the baseline must travel roughly the length of the service court, clear a 34-inch-high net at the center, lose speed, and descend into the opponent’s kitchen. A ball cannot do all of that on a flat, net-hugging trajectory unless the pace, spin, contact point, and margin are nearly perfect.
The better question is not:
How high did the ball go?
It is:
Where was the ball on its flight path when the opponent could play it?
A good drop can rise several feet above the net and still be completely unattackable. A lower-looking drop can be dangerous if it is still rising when it reaches the kitchen line.
The Real Purpose of Drop Height
The third-shot drop is not supposed to be a spectacular winner.
Its purpose is to prevent the receiving team—usually already established at the non-volley line—from hitting aggressively downward. It also gives the serving team an opportunity to leave the baseline and begin moving forward.
A third-shot drop is generally defined as a soft shot from the backcourt or midcourt that lands in or near the opponent’s non-volley zone, limiting the opponent’s ability to attack.
That means height is only one part of the result. A successful drop must combine:
- enough net clearance to be reliable
- enough depth to prevent the opponent from reaching comfortably into the kitchen
- a descending trajectory near the opponent
- sufficiently low pace and bounce to remove an aggressive volley
The goal is not to shave the tape. The goal is to make the opponent contact the ball below their preferred attack height.
Height Over the Net Is Not the Same as Attackability
Imagine two drops.
The first crosses only six inches above the net. It looks excellent, but it is struck firmly and continues rising toward the opponent. They step forward, take it above net height, and counter hard at your feet.
The second clears the net by two or three feet. It looks dangerously high from your side, but its apex occurred earlier. By the time it reaches the opponent, it is falling sharply into the kitchen. They must let it bounce or volley upward from below net height.
The second ball is usually safer. This is the distinction many recreational players miss: Absolute height matters less than height at the opponent’s contact point.
The opponents do not attack the apex. They attack the portion of the flight they can reach.
Our friends at All Things Pickleball explain this principle in a very simple way:
Where Should the Apex Be?
The apex is the highest point of the ball’s flight.
For a conventional third-shot drop, you generally want the apex to occur on your side of the net or around the net—not deep on the opponent’s side:
That gives the ball time to descend before it enters the opponent’s volleying space.
When the highest point occurs too late, the ball is still rising as it approaches the kitchen line. Even if it lands in the kitchen, the opponent may intercept it early and hit downward.
A useful visual cue is:
Up early, down late.
The ball should gain its height relatively soon after contact, then begin losing height as it crosses the net and approaches the kitchen.
Do not interpret this as an instruction to intentionally throw the ball straight upward. You still need forward travel. The cue simply discourages the flat, line-drive shape that produces so many net errors and attackable half-volleys.
Is There an Ideal Height?
There is no single correct height in feet or inches. The right arc changes according to:
- your distance from the net
- the height of the incoming return
- whether you contact the ball while balanced
- your target depth
- wind conditions
- spin
- the pace of the ball
- whether you are dropping crosscourt or straight ahead
A numerical study of third-shot-drop trajectories found that successful shots existed across ranges of launch speeds and angles rather than at one perfect setting. In its model, successful down-the-line drops used initial angles of approximately 15.5 to 22.5 degrees, while crosscourt drops used approximately 12.5 to 18 degrees. The researchers also found spin to be less influential than speed and launch angle in their modeled conditions.
Those figures should not become swing thoughts during a game. You are not going to measure 18 degrees while returning a deep slice.
The practical takeaway is more useful: there is a window of successful trajectories, not one perfect arc.
Your job is to develop a repeatable shape with enough margin—not reproduce an exact height every time.
A Better Target: The Opponent’s Feet
Players often aim for the kitchen itself. That target is too vague.
Instead, imagine the ball descending toward the feet of the opponent directly in front of you—or slightly toward their backhand side when tactically appropriate.
This changes your intention. You stop trying to “drop the ball over the net” and start trying to make the opponent play upward.
A ball that lands close to the net is not automatically better. If it falls very short, the opponent may reach in, take it early, and create a severe angle.
A slightly deeper drop that falls near the opponent’s feet can be more effective because it crowds their contact point. They cannot extend comfortably, and attacking downward becomes difficult.
A strong depth window is generally the back half of the kitchen, particularly when your opponents are standing tight to the line.
How Much Net Clearance Should You Use?
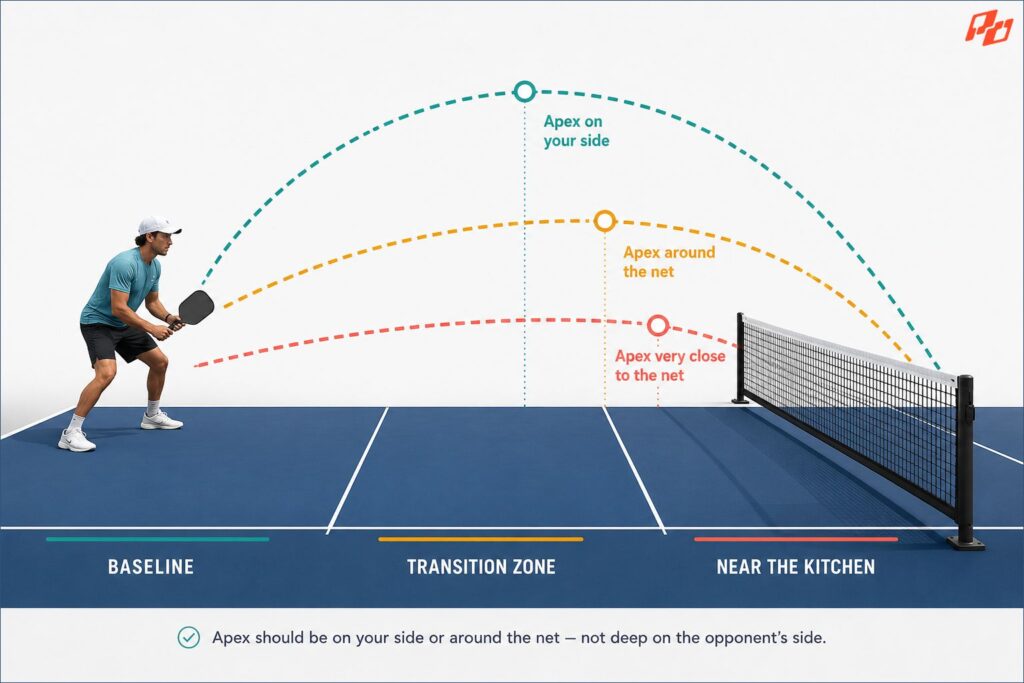
From the baseline, most 3.0–4.0 players need more clearance than they think.
Trying to pass three or four inches over the tape creates a very small margin for error. A minor change in contact point, wind, incoming spin, or paddle angle can turn an acceptable drop into a net ball.
You should expect a functional baseline drop to clear the net visibly—sometimes by a foot or more, and occasionally much more—provided it is descending safely.
As you move closer through the transition zone, the required arc becomes smaller because the ball has less distance to travel.
Think of drop height as a sliding scale:
Baseline: more arc and margin
Mid-transition: moderate arc
Near the kitchen: dink-like trajectory
This is why one swing shape cannot serve every court position. The closer you are, the less lift and forward energy you need.
The Contact That Produces Reliable Height
Most drop-height problems are not really height problems. They are contact-quality problems.
When Drops Keep Hitting the Net
Players often respond by opening the paddle face dramatically. That may send the next ball high, but it does not solve the underlying issue.
Common causes include:
- contacting the ball too far behind the body
- lowering the head during the swing
- tightening the grip at impact
- stopping the paddle immediately after contact
- swinging mostly forward instead of forward and slightly upward
- hitting while moving through the ball
A more reliable cue is:
Lift through the bottom-back of the ball and finish toward the target.
The paddle face should be slightly open, not pointed toward the sky. The swing should have a gentle low-to-high component, but it should remain compact.
When Drops Float Too High
High drops are often blamed on an open paddle face, but excessive acceleration is just as common.
Players begin with a soft setup, then flick the wrist or jab at contact. That extra burst sends the ball too deep or leaves it hanging in the opponent’s strike zone.
Try this cue:
Same speed before, during, and just after contact.
The stroke should feel like a controlled push or smooth lift, not a last-second hit.
Grip Pressure Controls the Arc More Than Players Realize
A death grip makes it difficult to absorb the pace of the return.
When your hand and forearm are rigid, the ball rebounds from the paddle more aggressively. You then compensate by shortening the swing, manipulating the face, or decelerating.
Use a grip pressure that feels secure but responsive—often around 3 or 4 out of 10 for a conventional drop.
The exact number is personal. The important point is that the paddle should not feel locked into your hand.
Under pressure, many players unconsciously tighten just before contact. That is why a drop that works easily during drilling suddenly flies long during games.
A useful pre-contact reminder is:
Loose fingers, stable face.
Soft does not mean floppy. The wrist remains structurally stable while the hand avoids unnecessary tension.
Stop Trying to Create Perfect Topspin
Topspin can help a drop descend, particularly on a forehand roll drop. But intermediate players sometimes become so focused on brushing the ball that they lose control of pace, face angle, and depth.
The trajectory study cited earlier concluded that spin had a secondary effect compared with initial speed and angle in its model.
That supports an important coaching priority: Learn the speed and shape first. Add more spin later.
A clean, mostly neutral drop with good arc is more useful than a heavily brushed ball that lands short, sits up, or misses unpredictably.
Topspin should improve your margin. It should not become a requirement for making the shot.
Your Movement Should Match the Quality of the Arc
A good drop does not automatically mean both players should sprint to the kitchen. Read the ball.
- When your drop is descending and forces a low contact, advance.
- When it hangs high or reaches the opponent above net level, stop, split-step, and prepare to defend.
The ball earns your movement. A useful team cue is:
Drop, read, then move.
This matters especially for older recreational players and anyone whose forward acceleration is slower. Controlled advancement in stages is often safer and more effective than charging through the transition zone and trying to volley while off balance.
How to Calibrate Your Height in Practice
Place a visual marker—such as a cone or towel—in the back half of the kitchen. Begin from halfway through the transition zone rather than immediately from the baseline.
Hit ten drops and watch the complete flight. Do not count only successful landings. Count balls that:
- clear the net comfortably;
- begin descending before the opponent’s contact zone;
- land near the target;
- would force a contact below net height.
Once you can produce that shape consistently, move back several feet.
This progression teaches distance control without forcing you to discover the full baseline trajectory all at once.
Another effective drill is to have a partner stand at the kitchen line and classify each ball:
- red: clearly attackable;
- yellow: playable but not comfortably attackable;
- green: opponent must volley upward or allow a bounce.
This gives you information you cannot obtain by watching from behind the baseline. A drop that looks high to the hitter may be falling harmlessly by the time it reaches the receiver.
The Three Most Useful Corrections
When the ball repeatedly hits the net:
Give it an earlier window.
Create height sooner instead of trying to lift the ball at the net.
When the ball lands short:
Send the arc forward, not only upward.
A drop needs controlled carry as well as height.
When the ball is attacked:
Check the descent, not just the height.
Your problem may be too much pace, a late apex, or excessive depth—not simply too much arc.
My Advice
Stop trying to hit the lowest third-shot drop possible.
That goal punishes small errors and encourages a flat trajectory. Instead, build a drop with a generous early arc, a clear descending phase, and a landing target near the opponent’s feet.
From the baseline, height is not your enemy.
Late height is the enemy.
The ball can rise well above the net and still be excellent. What matters is that it has begun falling before the opponent can attack it comfortably.
Judge your drop by the contact it forces—not by how impressive it looks while crossing the net.